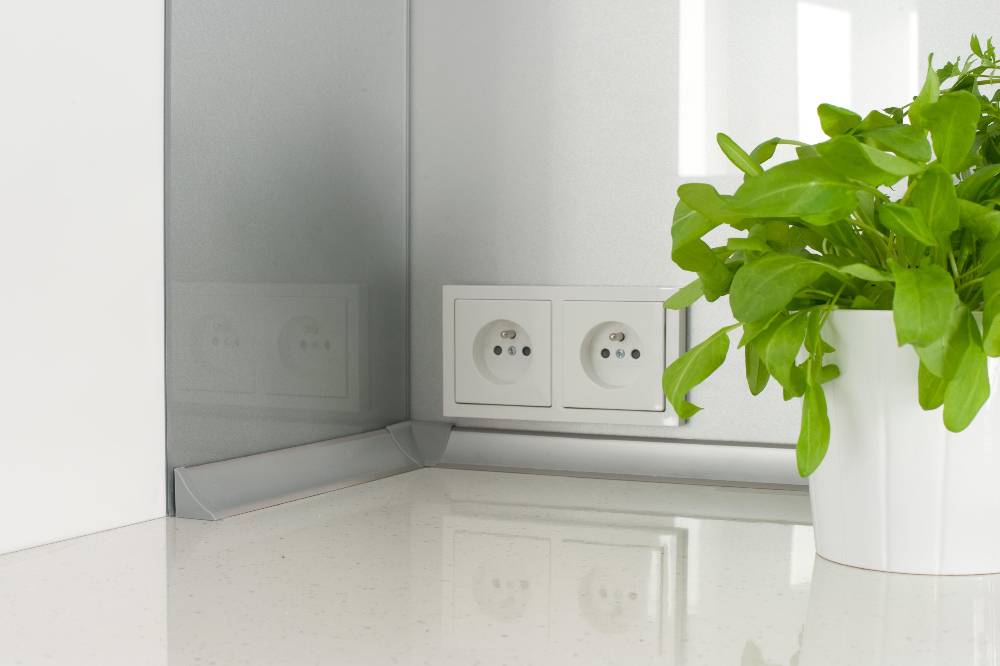
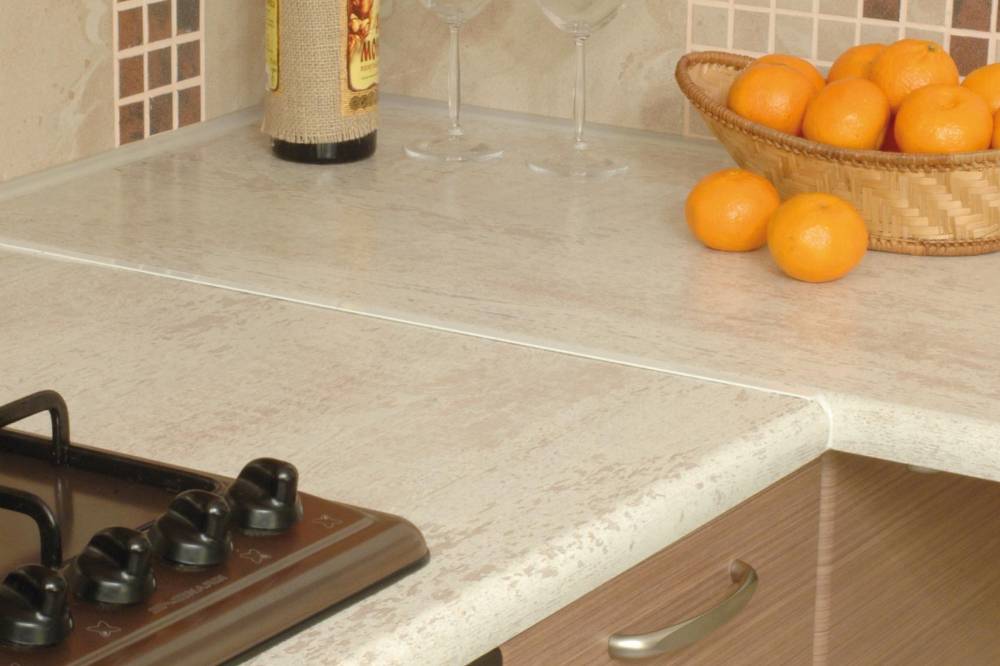
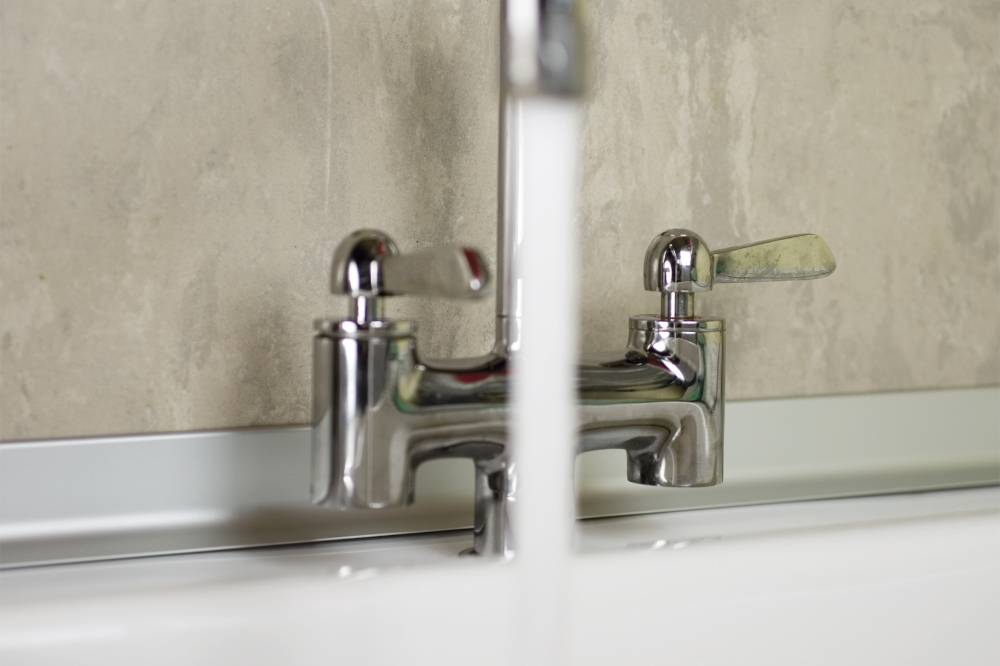
The finishing strips differ significantly from each other, as they have many important functions to fulfill, they are made of various materials, and are available in many sizes and colors. It is also obvious that they can be attached in a variety of ways. Some profiles are mounted with glue, others with adhesive tape, others with screws.
Strips mounting methods
Usually, we have several options for mounting the strips, which differ in the degree of difficulty and the number of accessories needed.
Today, investors rarely choose screw-on profiles - there may be several reasons for this, and perhaps the most important of them is the real risk of damaging the cables. Some of the profiles are mounted using the so-called quick installation - the screws are placed in the profile rail, which ensures a uniform appearance of the entire outer surface of the strip and very good fixing to the floor.
Quite often the profiles are mounted with glue, however, it is worth noting that this method requires a bit of practice from the installer: the strips are usually attached after the room has been painted, and gluing may make the walls dirty. Another option is to use a special tape during installation, which will not only fix the board to the ground, but also minimize the risk of soiling the walls.
In every case with no exception - whatever mounting method we choose - you need to remember about at least a few little things to avoid unpleasant surprises. For example, you need to have an accurate measurement of the room, verification of the dimensions of the profiles you want to attach to be able to cut it properly.

The strip is screwed to the floor
This is a "traditional" method of attaching the skirting board. The profile is attached to the wall or floor with screws, fixed every 45 - 50 centimeters. In the case of skirting boards, it is worth screwing it even more often if the wall is not perfectly even. This method of installation is dominant in the case of wooden and PVC profiles and requires basic skills and equipment from the person carrying out the renovation: saws for trimming profiles We recommend that you have a wire detector, because you should be extremely careful when drilling: there may be wires in the wall or floor, and drilling through them may end tragically.

Profile mounted with glue
The most frequently chosen method of mounting profiles is sticking them with professional mounting glue or universal glue. If this is how we want to attach our finishing strips, take into account the type of substrate and check whether the glue can be applied to our strips. It is worth analysing the ingredients of the glue and its parameters, and carefully read the instructions.
In the case of skirting boards, in order to choose the method of applying glue, you first need to carefully look at the walls. The glue can only be applied in spots on smooth and even walls. Otherwise, we apply the glue in a so-called “zigzag” pattern, thanks to which we will avoid the risk of the strips coming loose, and the glue will bond well with the substrate. It is worth knowing that cheaper adhesives are usually more difficult to apply (due to their consistency) and they bind poorly in the initial phase, so they need to be pressed for longer. They are also not indifferent to health in most cases. One-component adhesives, characterized by high flexibility, as well as fast and strong binding, will be the right solution for someone who has no experience in the field of assembly of skirting boards, thanks to which we will avoid long pressing of the profile.

Gluing with tape
This method of installation has several important advantages that make it popular: simplicity, time and comfort of work. Anyone can handle the gluing, you only need to choose the dimensions of the strip to your needs and, if necessary, cut it if necessary. The tape can be used to stick any type of profile.
To sum up: in most cases, the skirting boards are the last element of renovation or interior finishing, immediately preceding the furniture. Therefore, it is worth choosing recommended and tested materials, and the type of profile assembly should be adapted to your abilities and needs. If we are looking for the perfect finishing strip for a room, it is worth considering not only its color and dimensions, but also the material from which it is made. The color of the profile may be identical to the color of the floor, but it may also be matched to the window joinery or combined with the colors dominating the interior on the basis of contrast.
